Connecting Discord
PayBru uses a member's linked Discord account, your connected Discord server, the PayBru bot, and mapped roles to keep server access in line with membership status.
Journey in This Video
- What the video shows: connect the creator Discord server, check tier role status, and link the member Discord account under Connected Accounts.
- Who it is for: creators setting up Discord role access and members troubleshooting missing roles.
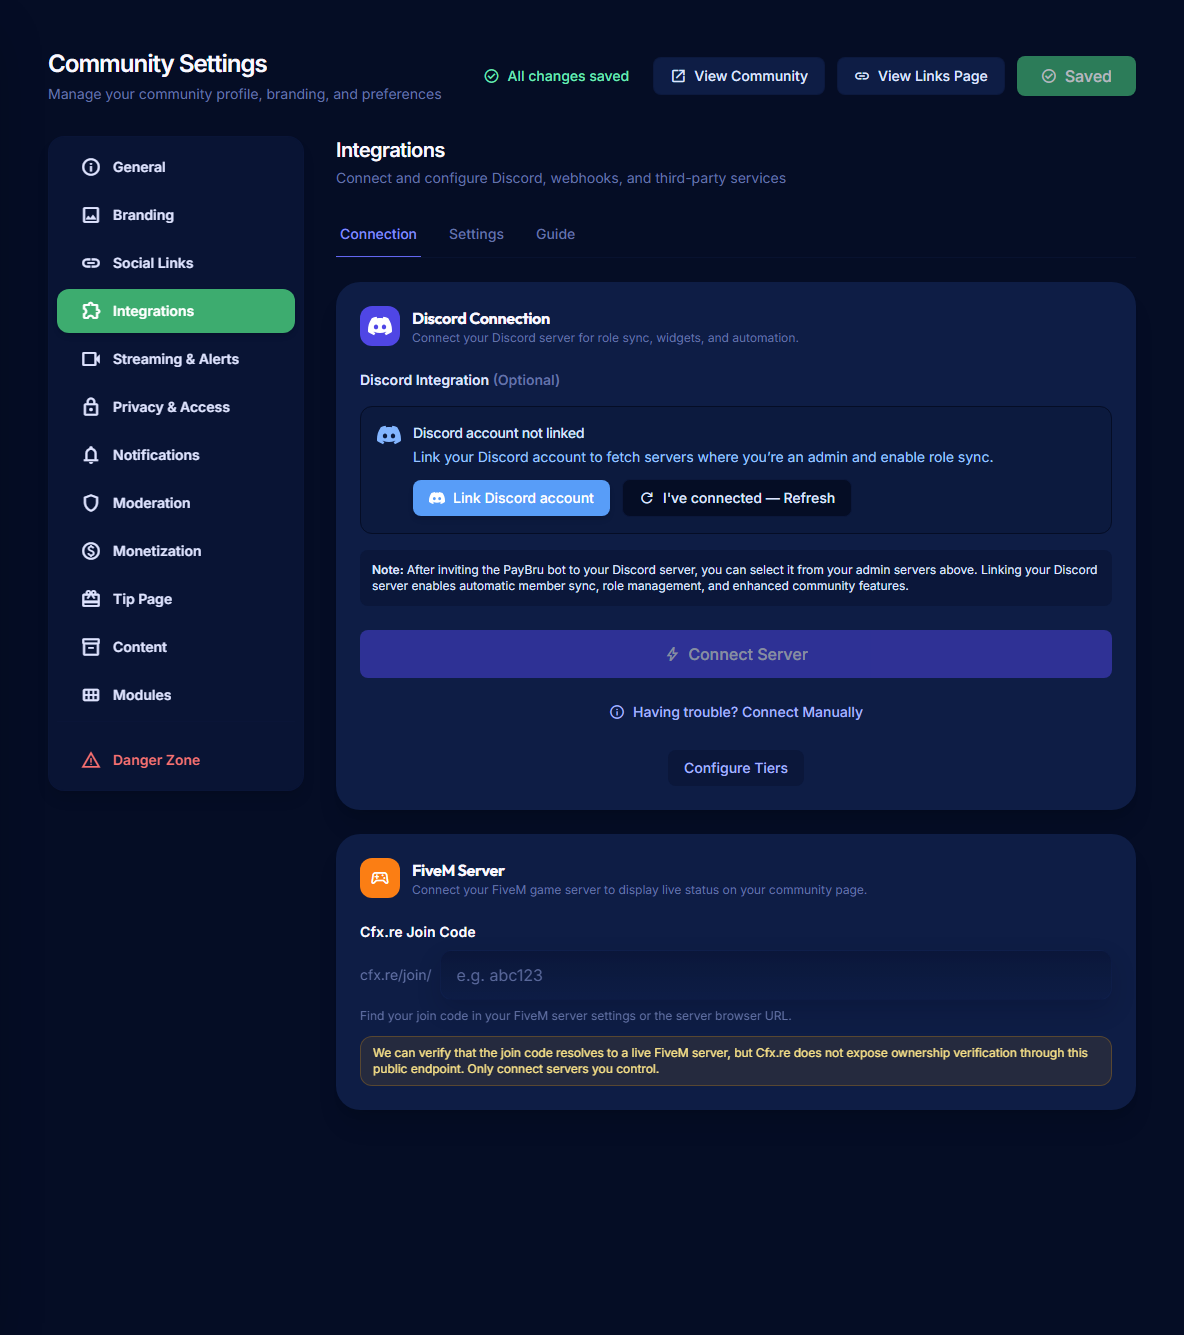
- Where to start: creators open Settings > Integrations in the Manage Portal; members open Resources > My Profile > Security > Connected Accounts.
- What to do next: invite the PayBru bot, keep the bot role above mapped roles, map tiers, and make sure the member joins the creator server.
- Important distinction: creator Discord server setup is separate from a member linking their personal Discord account.
The Four Moving Parts
The member links Discord from their PayBru profile so PayBru knows which Discord account should receive a role.
The creator connects the community's server from Settings > Integrations in the Manage Portal.
The bot sits in the server and adds or removes mapped roles when membership access changes.
A Discord role is mapped to a PayBru tier. Channel permissions in Discord decide what that role can see.
Before You Start
You need:
- A PayBru community.
- Server owner or admin access in the Discord server you want to connect.
- The ability to approve a Discord bot authorization prompt.
- At least one membership tier in PayBru if you want role-based access. See Setting Up Memberships.
Connect the Server
Sign in to PayBru, go to My Activity > My Communities, then select Manage on the community.
Go to Settings > Integrations and open the Discord connection area.
This lets PayBru show the Discord servers you can manage. Linking your account is different from connecting a creator server.
Choose Invite PayBru Bot, select the server, and approve the Discord authorization prompt.
Return to PayBru, refresh the server list if needed, then choose the server where the PayBru bot is active.
The server should show as connected before you map roles in the tier wizard.
Bot Permission Callout
PayBru does not need to read member DMs, and it does not DM members on its own.
Get the Role Hierarchy Right
Discord enforces a strict rule: a bot can only manage roles below its own highest role. If the PayBru bot role is below a paid tier role, PayBru cannot grant or revoke that role even when the member's PayBru membership is active.
Top of Discord role list
To set this up:
- In Discord, open Server Settings > Roles.
- Find the PayBru bot role.
- Drag it above every role you want PayBru to assign.
- Keep it below roles you do not want PayBru to manage, such as Owner, Admin, or Mod roles.
For Discord's own technical reference, see OAuth2 and Permissions and Server and Channel Management.
Map a Tier to a Discord Role
- In the Manage Portal, go to Tiers.
- Create or edit a tier.
- Open the Discord step in the tier wizard.
- Select the mapped role for each connected Discord server that should grant access.
- Save the tier.
After that, PayBru updates roles automatically when a member joins, renews, upgrades, downgrades, has a payment fail beyond grace, or cancels. See Automating Access by Membership Status for the full status-to-role behavior.
Member Side of the Connection
The member links Discord under Resources > My Profile > Security > Connected Accounts.
The same Discord account must be in the creator's server before a mapped role can apply.
If the member is in the server but has not linked Discord, PayBru cannot match the PayBru member to the Discord account. If the member has linked Discord but has not joined the creator's server, PayBru waits until they join.
If It Does Not Work
Check these states in order:
- Confirm the member's PayBru membership is Active.
- Confirm the member has linked Discord to their PayBru profile.
- Confirm the member is actually in the Discord server, not just invited.
- Confirm the tier has a mapped role for that server.
- Confirm the PayBru bot role is above every role it needs to assign.
- In Settings > Integrations, use Refresh or reconnect Discord if the connection looks stale.
See Common Discord Sync Issues for deeper troubleshooting.