Creating Your First Community
Start small: publish the essentials, add one clear tier, then layer in Discord, stream alerts, store, events, and payouts as needed.
Use this guide when you are ready to create your first creator community on PayBru.
Before You Start
Create or sign in to your PayBru account and verify your email address.
Prepare a community name, short description, category, and logo or banner.
Use Quick Setup for essentials or Advanced Setup when you want more public profile and integration fields upfront.
If you want payouts later, prepare KYC and bank details. You can upload them after the community is created.
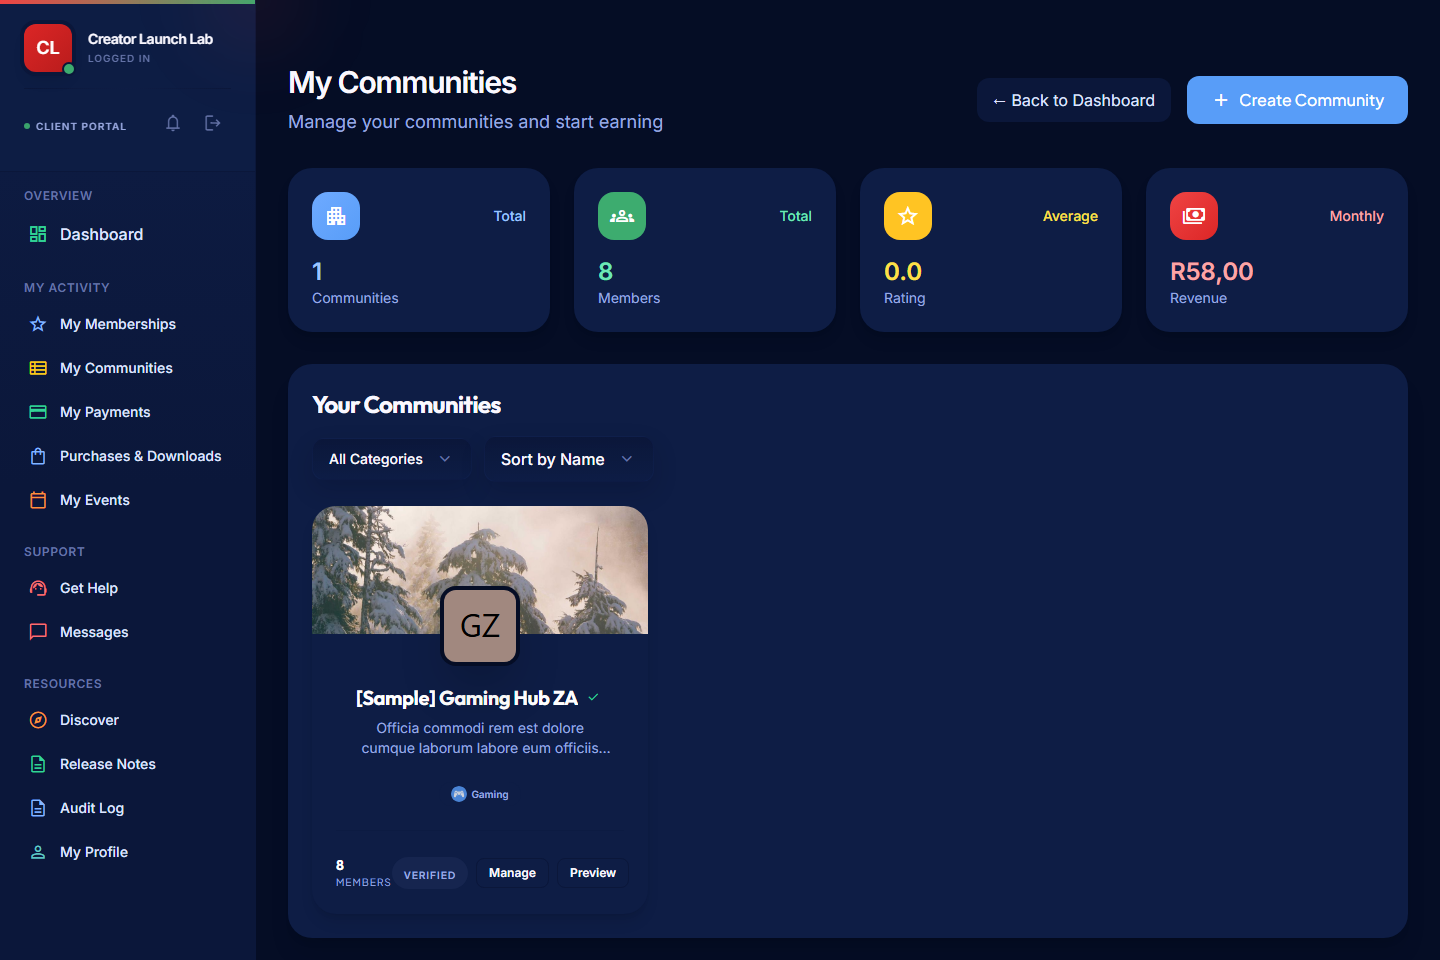
Open My Communities
- Open the Client Portal.
- Select My Activity > My Communities.
- Select Create Community.
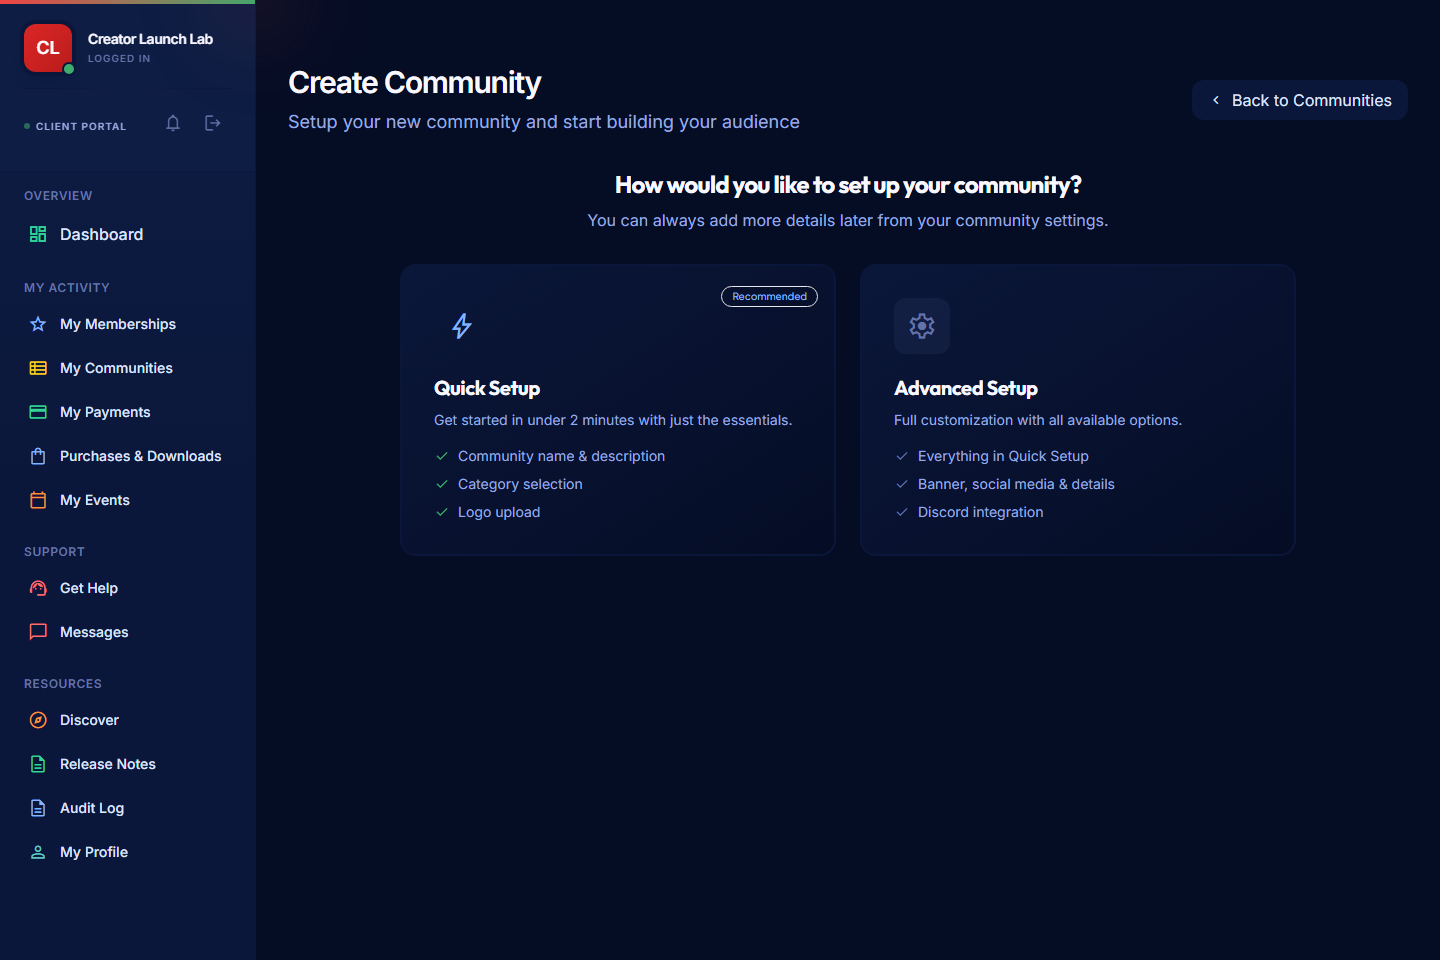
Choose Setup Type
PayBru gives you two setup paths.
| Option | Use it when |
|---|---|
| Quick Setup | You want to create the community with only the essentials. |
| Advanced Setup | You want to add banner, social links, public slug, and Discord options during setup. |
You can update community details later from Manage Portal > Settings.
Create the Community
- Choose Quick Setup or Advanced Setup.
- Add the community name and description.
- Choose the category and interest area.
- Upload a logo or banner if the setup path asks for one.
- Review the details.
- Submit the community.
After the community is created, PayBru takes you back to My Communities.
Open the Manage Portal
- Go to My Activity > My Communities.
- Find the community you created.
- Select Manage on your community card.
From the Manage Portal, you can create tiers, publish posts, run events, manage payments, and update settings.
Finish Launch Setup
Do these next:
- Set up membership tiers.
- Complete KYC verification.
- Add payout details.
- Update community settings.
- Set up Discord integration, if your community uses Discord.
Start small. Create one clear tier, publish one welcome post, and share the community link before adding every optional module.